Monday, December 27, 2010

Seasons Greetings and New Year's Resolutions

Hello,
I hope everyone has had a very merry Christmas and I wish you all a very happy, safe and prosperous 2011. We had a lovely Christmas, sharing the day with the kids at home and Grandparents visiting for a couple of days. I never achieved everything I wanted to before Christmas and I did something unforgiveable - I had to give some members of the family cards that weren't handmade!! That is an absolute no-no in my house - but I just ran out of time to finish making my cards as other Christmas preparations took over.  Anyway, one project that I did manage to complete was a handmade calendar for my mum and mother in-law.

I purchased the frame from Taylored Expressions along with the plastic sleeves and the plain downloadable calendar templates. I gave the frame two coats of white acrylic paint with a light sanding in between. Then I set about choosing suitable images to stamp along the top of each page, trying to fit the theme of each month where possible. Each page was finished with either some ribbon or border punched cardstock and other finishing touches such as Glossy Accents to add shine or glitter to give a little sparkle. This was the most fun project I have worked on in ages and I am itching to make one for myself now! Below are the completed months. Click on each image for a closeup.


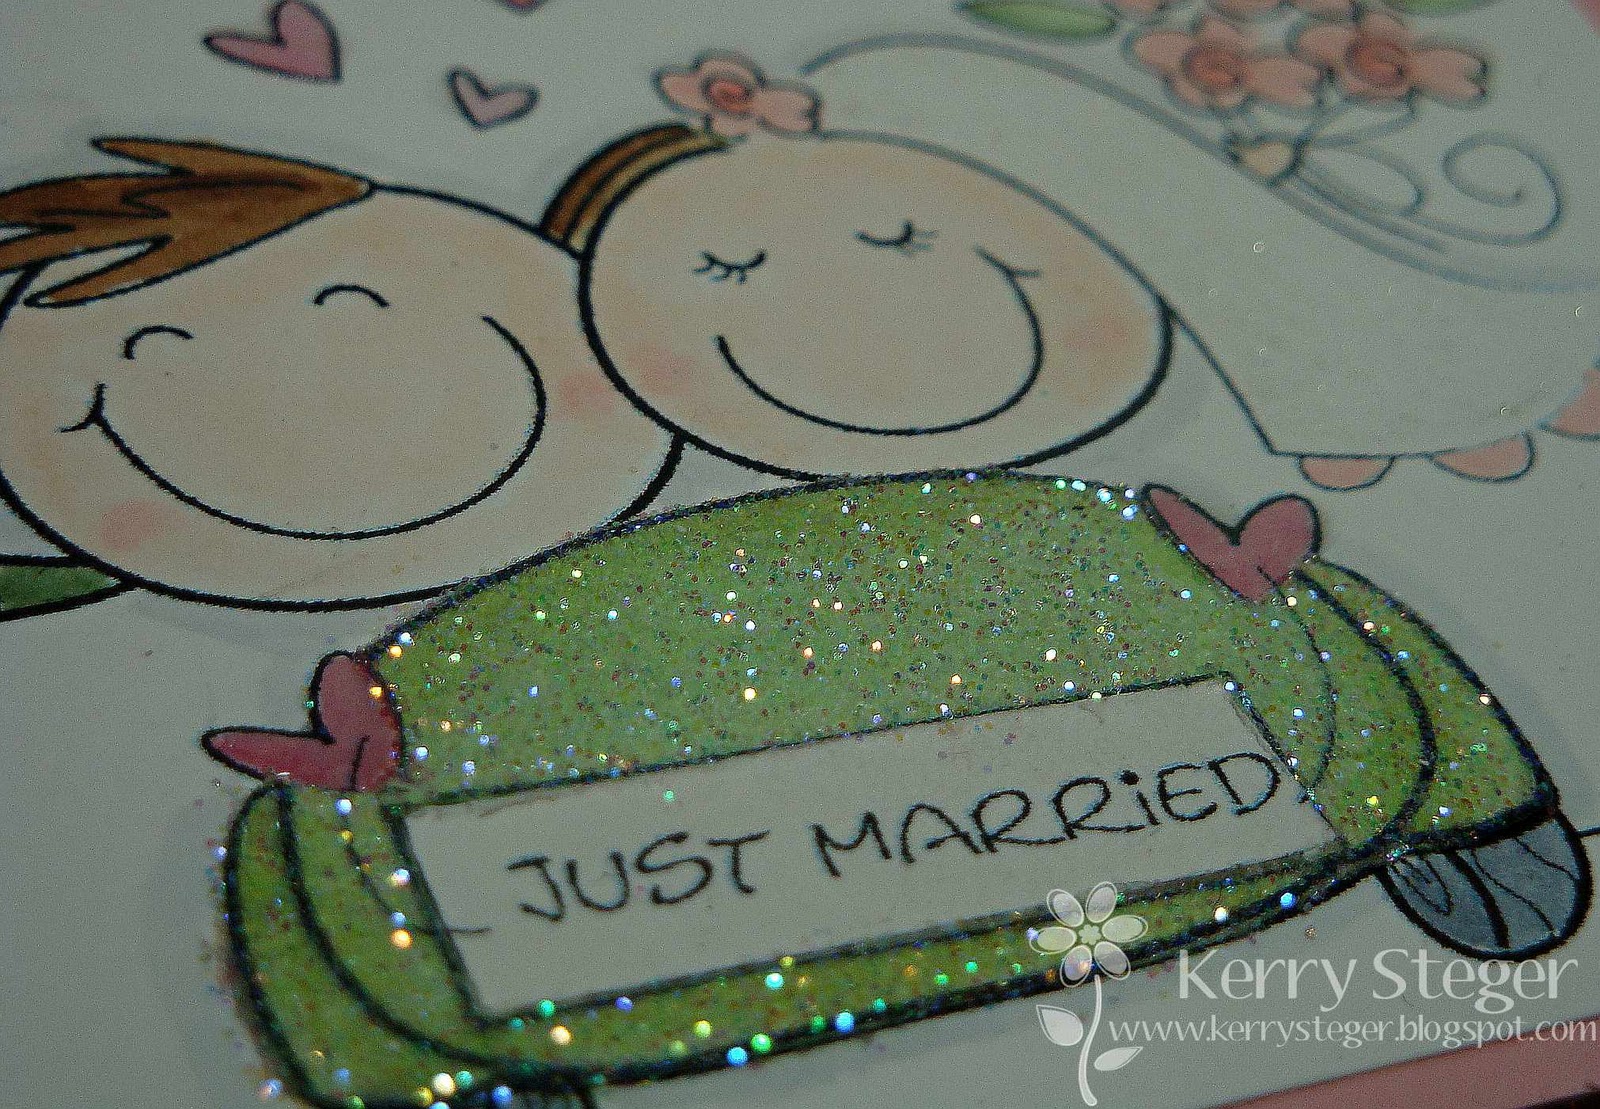
Here is a close up of the glitter added to August's image:


As the New Year is fast approaching, I have been giving much thought to my New Years Resolutions. I thought I would share them on here to make me more accountable and they will serve as a constant reminder to be followed:

1. Become fit and healthy and stick to it!!! I have joined countless gyms over the year and I have to admit that the last time I joined was the most successful. Unfortunately I got a slight tear in my achilles from doing step classes, so this all came to a halt. However I did recently  buy a cross trainer which is looking very lonely in my family room, so there are no excuses from Jan 1st!! I would like to reach 40 in much better shape and I have a couple of years to achieve this.

2. Manage the budget more successfully. I know this is probably on most people's to do list, but due to my passion for this hobby, I am very impulsive and as I order a lot of products online, it is more economical to blow the budget and order a ridiculous amount of products. I will still be buying online but I have to remember to use my ever-growing craft supplies up as well.

3. Start making Christmas cards now! As mentioned before, I didn't manage to give all my close friends and relatives a handmade card and that is just not on! I have decided that each time I create a new card, I will make a Christmas card using the same sketch or same colour combo at the same time. If I can make one each week or two, I will be close to reaching my target by December. So expect some Christmas spirit to be shared throughout the year!

4. Balance my time more efficiently. This should probably be number 1 on the list according to my husband! Since I have started this blog, my stamping mojo has skyrocketed and not a night goes by when I am not posting or creating a card much to my husband's disdain. He is THE best husband in the world as he keeps the house together while I am off in my craft heaven, but I think it's time I picked up some of the load, not to  mention focus on some valuable family time as the kids seem to be growing up too fast. I will still be posting as regularly, I just need to become more time efficient.

5. Buy an SLR camera! This is my number one purchase that I wish to make in 2011. I find that I am unable to capture the finer details of my cards and achieve closeups with my little camera.

So there it is - written down for all the world to see and I am determined to achieve all four of these resolutions. I might update on how I am going with them throughout 2011.

Thanks for visiting and  I will be back very soon.
Supplies
Stamps: All in the family, Trendy Trees, Thoughts and Prayers (SU); Tiny Treats- Valentine, Fancy Flourishes, Vintage Picnic, Round and Round, Scattered Showers, Scattered Showers Additions, Holiday Button Bits (PTI); Bubbly (Penny Black); Wings of Joy (TE); Spring Chicks Retired (Elzybells);Charlotte's Holiday Mail (Paperworks Co)
Cardstock: Very Vanilla, Kraft, Pretty In Pink, Basic Grey, Old Olive, Certainly Celery, Chocolate Chip, Baja Breeze, Ski Slope DSP - Retired (SU); White Basics (PTI)
Ink: Tuxedo Memento Black; Old Olive, Chocolate Chip, Certainly Celery, So Saffron, Pretty In Pink,Night of Navy, Baja Breeze, Real Red, Not Quite Navy
Accessories: Copic Markers; Frame Your Imagination Stand, 6x6 Page Protectors, 6x6 Calendar Download (TE); Stampin' Write markers, Scalloped Border Punch, Scalloped Oval Punch, Small Oval Punch, Dazzling Diamonds Glitter, Certainly Celery Ribbon (SU); Glossy Accents (Ranger); Scor-Tape; miscellaneous ribbon

Monday, December 20, 2010

18th Birthday card

Hello,
I hope your plans are going well for Christmas and you are more organised than I am! I still have heaps of wrapping to do and a couple of handmade gifts that I will be posting on here as soon as the recipients have received them. My to do list just keeps on going though and I am finally back with my finished card for a family friend on her 18th birthday. I decided to use the Just Add Ink Challenge #48 which is a sketch challenge. As soon as I saw this sketch, I knew exactly how I wanted to create my card. Here it is:


I already had it in my head that I was going to go with a purple and green theme, and also knew I was going to use my Guidelines Two set from Papertrey Ink - this is another product you can tell I love!! It's so versatile. I used white for the base and Plum Pudding cardstock for my mat layer. I then created my background paper using two different images from the Guidelines Two set along with the Guidelines Grid paper, stamping each image in Perfect Plum and Certainly Celery ink. I adhered this strip to the mat and then used my Lace Border Punch as a border. On one edge I added a row of tiny silver rhinestones and on the other I added some white ribbon on which I sewed a green button. I then finished off the stamped background with some random silver rhinestones.


The '18' was created using American Craft Thickers and added to a Plum Pudding circle. I then stamped an image from Papertrey's 2010 anniversary set - Round and Round in Plum Pudding ink. This was die cut with a circle nestability and added to a Certainly Celery circle and finally adhered under the ribbon.


The inside of the card was kept simple with the sentiment from Birthday Basics and the white cardstock was matted on Certainly Celery card. A dotted border was stamped again from the Round and Round set.
To add a little extra, I stamped this border on the envelope to tie in with the theme. You can click on these images to get a better look, I just didn't want to overload everyone with images!!!

Now that I have done this tonight, I need to seriously sit down and write some much needed Christmas cards, wrap more presents and make a start on my Christmas bonbons which I am getting the kids to help with tomorrow. I will be back in a few days. Until then, enjoy the last few days of my fave time of year!

Supplies
Stamps: Guidlines Two, Round and Round Anniversary set, Birthday Basics (PTI)
Cardstock: CC Designs white (All That Scraps); Certainly Celery (SU); Plum Pudding, Guidlines Grid Paper (PTI)
Ink: Plum Pudding (PTI); Certainly Celery (SU)
Accessories: Lace Border Punch (Fiskars); Rhinestones (Kaisercraft); Circle Nestabilities (Spellbinders); 1" circle punch (SU); Large circle punch (Carl); white ribbon; green button; white thread

Friday, December 17, 2010

TCP Tuesday 139

Hello!

Today I have yet another non-Christmas card to share but one that I found quite challenging. My mum needed a birthday card for my nephew who is turning 13 tomorrow. I have to say that teenage boys are THE hardest male cards to make - I have no appropriate images and I just itch to add the bling and ribbons etc. Then I remembered that I had ordered October Afternoon's Thrift Shop paper pad and found this great black and cream paper which just screamed out to be used!! Everything for the rest of the card just seemed to flow naturally and I also found it very easy to incorporate into The Cat's Pajamas Tuesday Challenge 139:


I decided to make an easel card (tutorial  here) to add a bit of interest to quite a simple card. The first step was to make the base of the easel from Kraft cardstock. After this, I layered some black cardstock on the designer paper and used a Spellbinder circle die cut a circle through both layers. I then lightly adhered these layers to some Very Vanilla card and sewed a border around this using some Kraft coloured thread.

I then diecut a smaller circle from the patterned paper and a smaller circle from Kraft card and finished off with the number 13 using some American Craft thickers. I only had white, so I used a black marker to colour them. The circles were then popped up on some dimensionals and added to the front of the card. To finish off the front, I added some cream twill tape and adhered this inside the circle opening with Scor-tape.

On the inside of the card, I diecut another patterned paper circle and a smaller vaniila circle. I stamped the Happy Birthday sentiment in Versafine Vintage Sepia ink using the Birthday Basics set from Papertrey Ink. The circles were then adhered to the centre of some Very Vanilla cardstock on dimensionals to ensure that the front of the card is held in place when opened up. Voila! Such a simple card, but I am really happy with the outcome and will definately follow this sketch again. The card does look much better IRL - it was hard to capture it properly on camera.

I have to go now and finish watching the Santa Clause 3 with my kids tonight. Even though things are slowing down there out in blogland, I can't stay away from my craft room for long or I miss it like crazy, so I will hopefully have a Christmas card to share with a new stamp I am itching to ink up and also some 3D projects that are Christmas gifts (yes I have left it till the last minute!!!)

Thanks for visiting!


Supplies
Stamps: Birthday Basics (PTI)
Cardstock: Very Vanilla, Kraft (SU); Thrift Shop Designer Paper (October Afternoon);Black cardstock
Ink: Vintage Sepia (Versafine)
Accessories: Circle Nestablities (Spellbinders); Scor-tape; Kraft thread; Twill ribbon (SU)

Tuesday, December 14, 2010

Wedding Card - Sweet Sunday Sketch #96

Wow! Two posts in one day - I am on a roll! A friend of mine has asked me to make her a cute wedding card for a girl at her work and I had to think and think about what image I could use as I don't have many wedding stamps. Then I remembered that I had seen so many cute images at DigiStamp Boutique and I found the perfect 'cute' stamp for my card. I really enjoyed making this card as I was able to add lots of detail to it, while still coming up with quite a simple card.

For this card, I chose to use Karen Giron's Sweet Sunday Sketch Challenge #96 as my inspiration which I decided to flip:


I started by using some white basics cardstock and adding a scalloped edge to the front base. I then used my Guidelines Two background set to stamp a strip of patterned paper on some Papertrey Ink Guidelines Gridsheet cardstock with Certainly Celery and Pretty In Pink ink. The beauty of this paper is that you can't go wrong when positioning your images as its all lined up for you. This strip was matted on some Certainly Celery cardstock which has been cross stitched across the top with white DMC thread, the bottom punched with a scallop border punch and some glitter added with Scor-Tape. I then adhered some pink ribbon and thread it through a diamante buckle.

The image that I used for the card is Henry and Zoe Get Wed digital stamp from DigiStamp Boutique. I coloured the image with my Copic markers and then printed out a second copy of the image, cutting out the car. Once the car was cut out, I used my Craft Knife to remove the sentiment number plate. I coloured the remainder of the second car piece with my Copic markers and then ran the image through my Xyron and sprinkled it with glitter. I then adhered this second car image to the original coloured image and inserted the sentiment back  in with adhesive.


I coloured in the veil with my Copic Clear Atyou pen to add some sparkle. The hearts were coated with glossy accents to add some dimension. The image was then adhered to some Pretty In Pink cardstock and added to the front with dimensionals. To view the details clearer, just click on the images.

The inside of the card consists of some white basics cardstock adhered to a Certainly Celery mat. The sentiment was stamped in Memento Tuxedo Black ink with Papertrey Ink's Heartfelt Basics set. I find this set really flexible as you can choose certain words you wish to insert in the sentiment to suit the occasion and in this case I inserted 'happiness' and 'always'. To finish off the inside I added a small row of tiny silver rhinestones.

Sorry about the long winded post but I had so much fun making this card and I wanted to explain how I put it all together. I will definately be CASEing this card again myself in the future.

I have decided to devote tomorrow to the kids with no stamping time until tomorrow night (I am having withdrawals thinking about it!!). I have promised them a morning at the shops and then we are spending tomorrow afternoon playing board games and having some real family time. I will be back in a couple of days though as I have to create two birthday cards for my nephew and also finish my dear friend's daughter's 18th birthday card.

Have a good week!! 11 sleeps to go!!!!


Supplies
Stamps: Henry and Zoe Get Wed (Digistamp Boutique); Heartfelt Basics, Guidelines Two (PTI)
Cardstock: White Basics, Guidelines Gridsheets (PTI); Certainly Celery, Pretty In Pink (SU)
Ink: Certainly Celery, Pretty In Pink (SU); Memento Tuxedo Black
Accessories: Dazzling Diamonds glitter, Scallop Border Punch, Dimensionals (SU); Apron Lace Punch (Fiskars); Silver Rhinestones;DMC white thread; Paper Piercer; Pink Ribbon; Xyron Sticker Machine; Scor-Tape; Clear Copic glitter pen; Copic Markers; Glossy Accents, Silver Buckle

2010 Christmas Gift Tags

Hi!
Well school has officially finished for the summer holidays and even though I am home with my three children, I find it easier to make time to sit down and create as I'm often so tired at nights at the end of each school day. I still find I have to work in my craft room at night as the kids are still so young and full of energy during the day, but that's okay - I can stay up into the wee hours of the morning!!!

Last night as I was starting to wrap presents, I realised that I hadn't made any tags yet. So I quickly set about mass producing some simple tags using my favourite colour scheme of red, cream and kraft. I alternated the colours on each just to change them up a little.


The base is cut at  3" by 2 1/4" and then the next layer  is 2 7/8" by 2 1/8". I stamped the images using a retired Elzybells set (sorry - I know that's frustrating, but this would work well with any circular tag images). The image was then punched out with my 1 1/4" circle punch and matted with a scalloped circle. The little strip along the bottom was punched using my scalloped border punch.  Once I had finished this, I used my crop-a-dile to punch a hole in the top of the tag and threaded some linen thread through. On the back I used the To/From image  from Papertrey Ink's Tiny Treats: Valentine stamp set.

These tags were so easy to make and the best thing about them is that this is a great way to use up those scraps of cardstock that you simply can't part with.

Have a great day and I will be back with a wedding card shortly.


Supplies
Stamps: Tiny Treats: Valentine (PTI); Retired tag set (Elzybells)
Cardstock: Kraft, Very Vanilla, Real Red (SU)
Ink: Real Red (SU); Versafine Vintage Sepia
Accessories: cropadile, linen twine, 1 1/4" circle punch, scallop circle punch, scallop border punch (SU)

Wednesday, December 8, 2010

Inkspirations Sketch Challenge #51

Hello,
I know a few of the challenge blogs may take a break soon as Christmas is nearing, so I have decided to make the most of them now as they provide so much inspiration for me while building my Christmas card stash. This card has been made for the Inkspirations Sketch Challenge #51. Here is the sketch:


I chose one of my all time favourite colour combos - red, cream and kraft. I LOVE these colours!! Firstly the base was made from kraft cardstock and a layer of Very Vanilla added. I stamped some images from Papertrey Ink's  Fancy Flourishes set on Real Red card with Real Red ink then adhered this to the bottom of the vanilla card. I added some kraft card punched from my go-to punch - Fiskars Apron Lace and adhered some red ribbon along it. Some linen thread was then cross stitched above this (this is another technique that I am constantly drawn to at the moment. I used to cross-stitch a lot before I discovered the world of card making so its's nice to incorporate both together).

I then stamped some Xmas sheet music onto kraft card in Versamark ink (using a stamp I found in Spotlight for a couple of dollars!!) I embossed this with clear embossing powder to give it a bit of pop. This layer was then cut with a circle nestability and a Jenny Bowlin Felt border was adhered around it. The Santa is from the Holiday Button Bits set from Papertrey Ink and coloured with my Copics and a red button added to his belly. I then stamped Santa's head a second time and popped it up on dimensionals so his beard could rest on the button. To complete the image I simply added some glitter with two way glue.

Finally the sentiment also from Holiday Button Bits was stamped in Versafine Vintage Sepia ink on cream card and adhered just behind the felt border.

The inside of the card consists of a layer of Real Red card stamped with Fancy Flourishes and a layer of kraft border punched and added on top. This was adhered to the bottom of Very Vanilla card and the Joyeux Noel sentiment was stamped in Versafine Vintage Sepia ink. This sentiment is taken from Papertrey Ink's Daily Design Sentiments set.

I hope the last week of school for those that have kids still there is going well - only 2 days to go and then a chance to relax!!

Thanks for visiting
Supplies
Stamps: Holiday Button Bits, Daily Design Sentiments, Fancy Flourishes (PTI)
Cardstock: Real Red, Kraft, Very Vanilla (SU)
Ink: Versamark, Real Red (SU); Versafine Vintage Sepia
Accessories: Apron Lace Punch (Fiskars); clear embossing powder, Dazzling Diamonds glitter (SU); red ribbon; red button;Circle Nestabilities (Spellbinders); Jenny Bowlin Felt Circle Border

Sunday, December 5, 2010

Simple Calendar

Hi,
Just a quick post tonight - I just thought I would show pictures of a very simple calendar I made using this tutorial by Nancy Morgan. I have been wanting to have a go at this for a couple of years and now as I need a Secret Santa gift, this seemed like the perfect opportunity. I kept the calendar quite monochromatic and simple using some retired Stampin' Up designer paper and matching cardstock. Click on the images to see a closeup.


The card images for this card were stamped using Papertrey Ink's 2010 Anniversary set Round and Round and Riding Hood Red Ink. The calendar is held upright by some vanilla ribbon. Jan to Jun are on the outside of the calendar, then you simply untie the ribbon and flip the calendar over and Jul to Dec are then able to be used.  I have kept the vanilla ribbon a little long so the recipient can decide if they want a bow or knot. These could easily also be blinged up a bit with some rhinestones or glitter - I just had a strict time limit.

I had a lot of fun with this and will probably make some more for teacher gifts as its so inexpensive to make.

See ya!


Supplies
Stamps: Round and Round Anniversary Set (PTI)
Cardstock: Ruby Red, Groovy Guava, Ginger Blossoms DSP - I think! - all retired, Very Vanilla (SU)
Ink: Riding Hood Red (SU); Printer for calendar
Accessories: Scallop Circle Punch, Very Vanilla taffeta ribbon, Cropadile, Dimensionals (SU); Circle Nestablilities (Spellbinders)

Saturday, December 4, 2010

Color Cue Challenge #10

Back again!
I have another card that was needed for a friend so I thought I would use this opportunity to participate in W Plus 9's Color Cue #10 challenge. There were a range of colour combinations to choose from, but I went with this lovely colour combo:

I found it hard to incorporate purple into the mix, but then I realised I had some purple rhinestones and some purple and kraft paper so it just seemed to fall into place from there.


I created the base from Kraft cardstock. The white layer was scored at 1/4 inch intervals with my Scor Pal and then paper pierced on three sides and cross stitched with some linen DMC thread. The layer on the right consists of some Plum Pudding cardstock which was punched with my Apron Lace border punch. A layer of white cardstock was adhered on top of this as well as some Dotty Biscotti paper from Papertrey Ink. Along one side, purple rhinestones were added and some Kraft ribbon. I stamped the Celebrate sentiment from my Scattered Showers set from Papertrey Ink with Real Red ink and die cut it with my Tiny Tags die. I then tied it with a red button onto the bow with twine.

The image uses the flower umbrella from Scattered Showers stamped in Real Red ink with glitter adhered using heat and stick powder. The handle was stamped with Vintage Sepia ink.

On the inside of the card I made it simple but carried the theme through by using some more Dotty Biscotti paper and stamped the white layer with another sentiment from Scattered Showers.

I am working on some Secret Santa gifts for school this week so I will post them when I have the chance. Now its off to watch the end of Anne of Green Gables which is on TV tonight - one of my all time faves!!!!!

See you next time


Supplies
Stamps: Scattered Showers (PTI)
Cardstock: Kraft, Whisper White (SU); Plum Pudding, Dotty Biscotti designer paper (PTI)
Ink: Real Red, Versamark (SU); Versafine Vintage Sepia
Accessories: Rhinestones (Kaisercraft); Twine, Kraft ribbon, Heat and Stick powder, Dazzling Diamonds Glitter (SU); Apron Lace Punch (Fiskars); Red button; DMC linen thread; ScorPal